The correct wood glue can assist you in creating long-lasting bindings on your woodworking projects. A lot of new woodworkers are surprised to learn that wood glue is often the strongest method for joining two pieces of wood together. It can hold better than screws or nails, and in most cases the glue is actually stronger than the wood it’s holding together. However, not all wood adhesives are appropriate for every use. There are so many different kinds available and we tend to evaluate them based on their strength alone, which isn’t always the most important factor in choosing a glue. Not all project projects require lots of holding power. Instead dry time, clean-up, environmental impact, ease of use and convenience are factors to consider when buying glue. This post will teach you everything you need to know about Adhesive for all of your projects involving wood.
Table of Contents
Basics of Wood Glue
Historically, woodworkers used hide glue, which is crystalline and must be dissolved in water and kept warm during application. As a result, it has largely fallen out of favor. Today, woodworkers primarily use PVA glue. While you might think of PVA as any water-based glue, it actually stands for polyvinyl acetate. PVA has been around for a long time, but it was traditionally only good for indoor use. However, in the last decade, we have seen improvements in the chemistry of PVA clues that they are now waterproof and even have a longer open time, which is great when you have a complicated assembly.
Different types of Wood Glue
Glue is essential to the completion of many different woodworking projects. It is not always an easy task however, figuring out which wood glue is the most appropriate for a given project. In order to select the appropriate wood glue for your project, you must first know what types there are available.
PVA glue
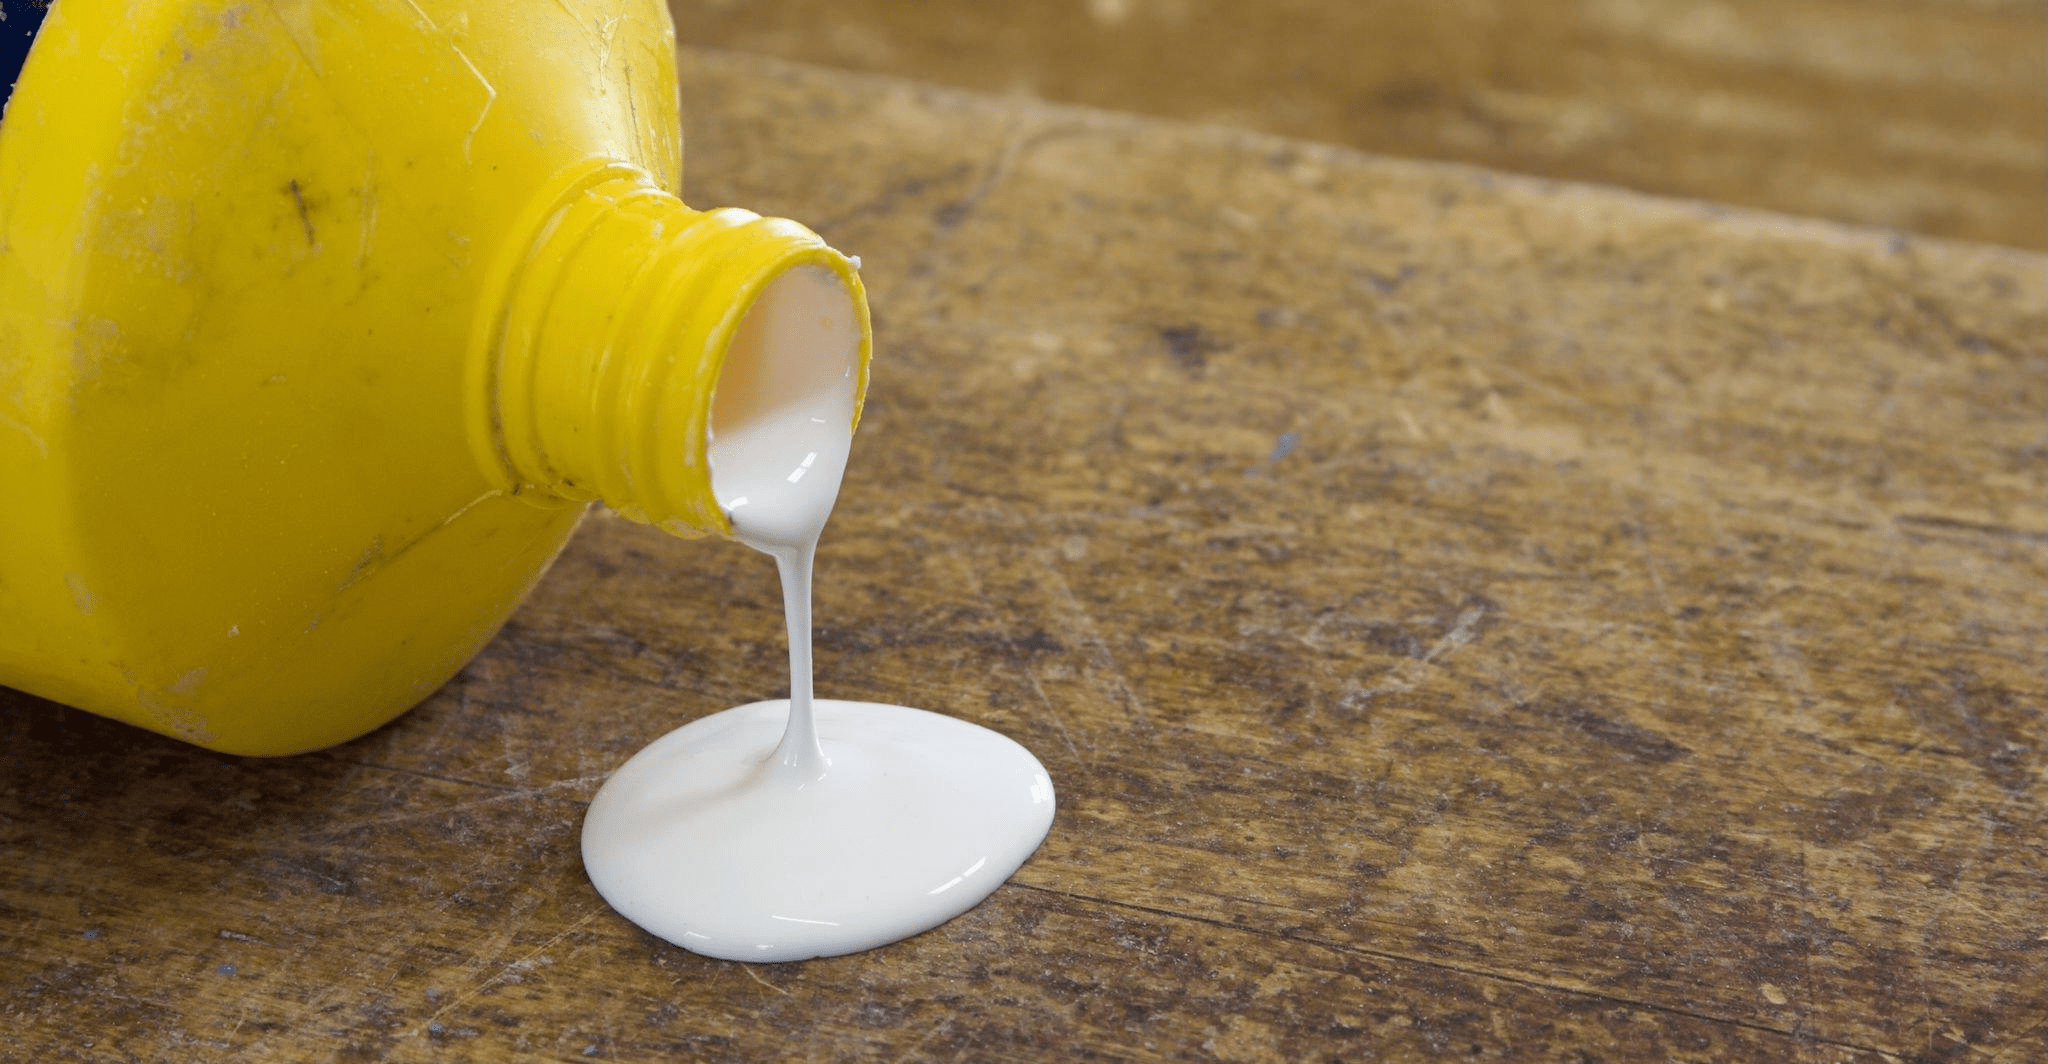
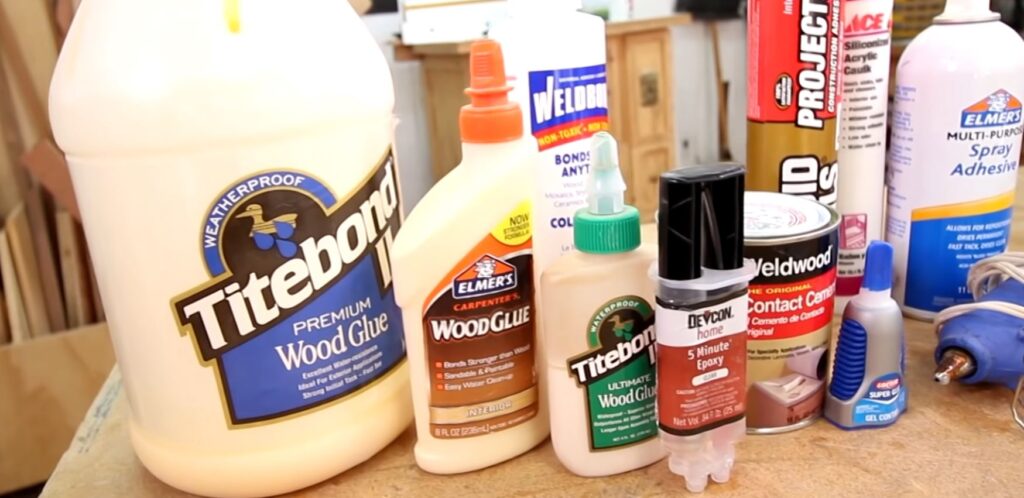
PVA glue also known as polyvinyl acetate glue, is the kind of wood glue that is most frequently used in woodworking today. In this category, you’ll find the typical white and yellow glues, in addition to the so-called “carpenter’s glue.” It is applicable to a wide range of projects, but not all of them at the same time.
Hide glue
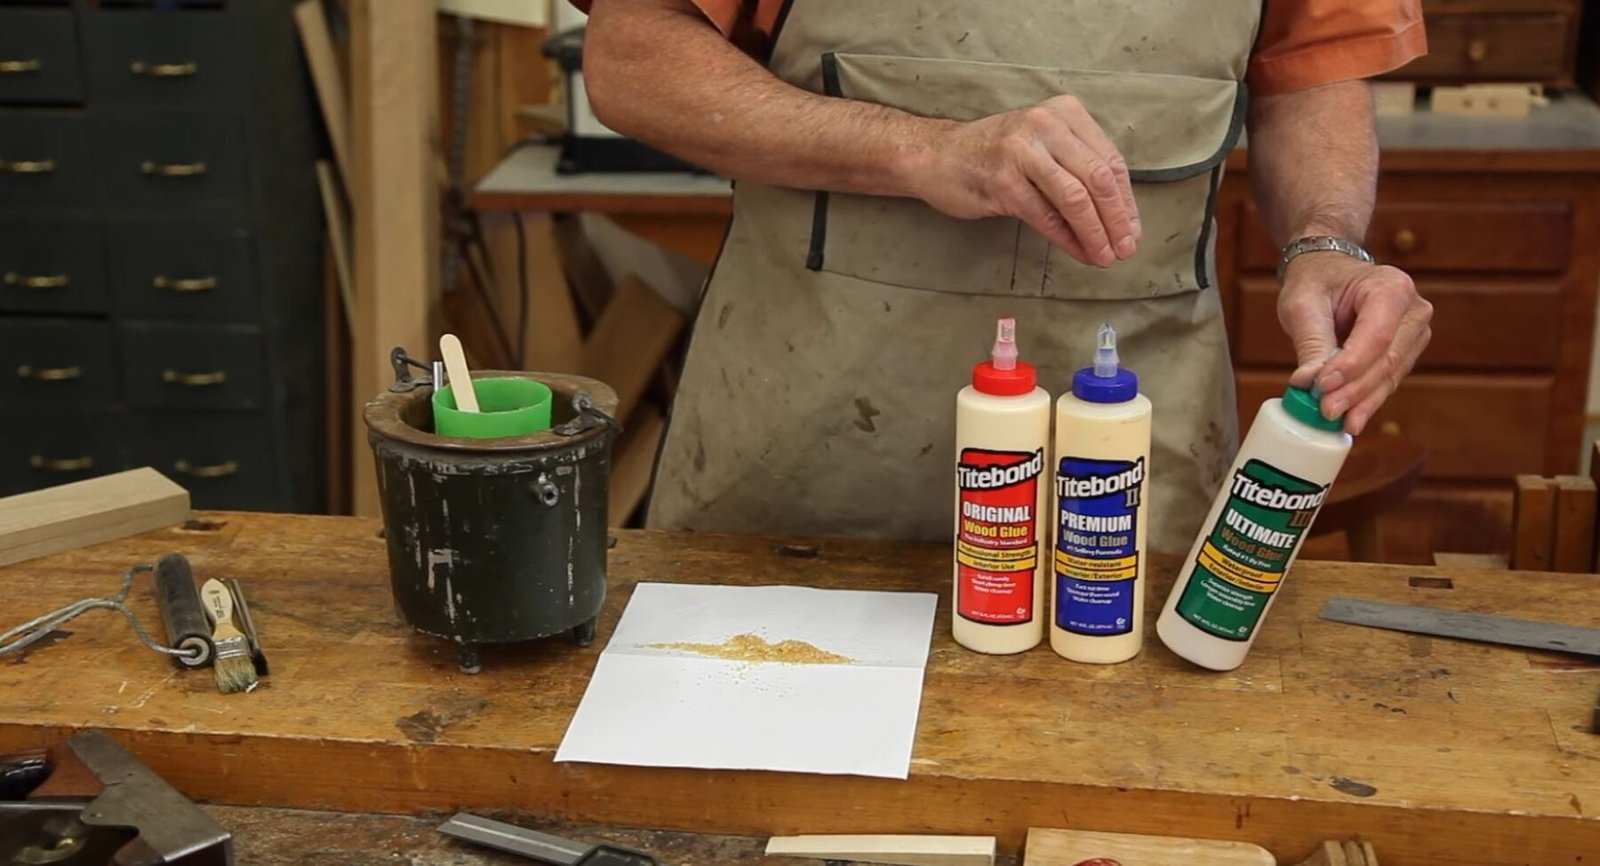
Hide glue contains animal products. It can be in the form of a liquid, granules, flakes, or sheets that need to be dissolved in water. All of these forms can be found. Before it can be applied with a brush, it needs to be heated, and the adhesion forms as the substance cools.
Epoxy
The typical formulation of epoxy includes a hardener in addition to the resin that it is mixed with. When the components are combined, a chemical bond is formed. This bond, once it has hardened, is watertight and fills in any gaps. Even though some epoxies take a long time to cure, they are some of the most powerful wood glues on the market. If you are looking for an epoxy that is simple to apply and works well with wood, you may want to consider Loctite Epoxy Quick Set or one of the many other types of epoxies that Loctite manufactures for a variety of uses.
Polyurethane
Polyurethane glues are a type of moisture-activated glue that foams and hardens into an extremely resilient adhesive as it dries. This type of glue is known as a polyurethane glue.
Guide – How to best apply Wood Glue
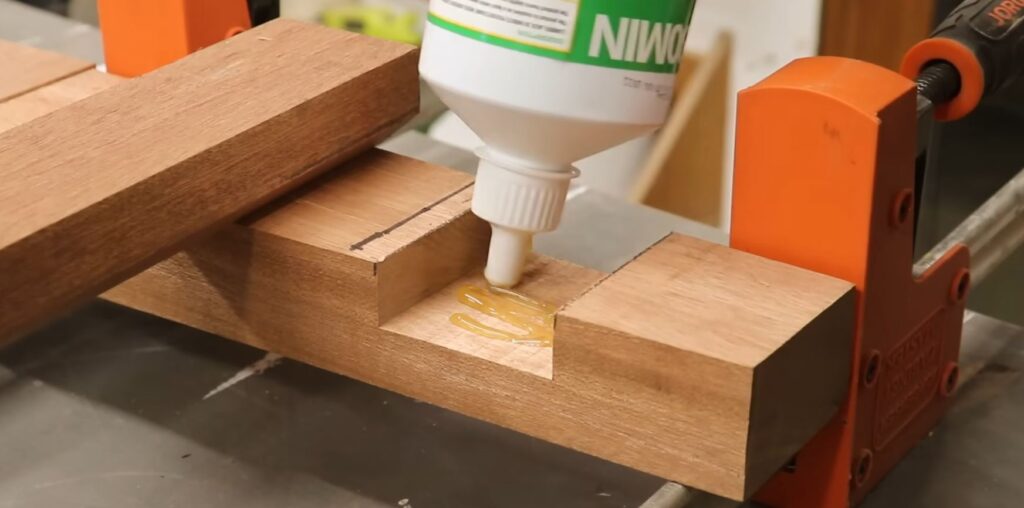
Gluing wood efficiently may be a breeze if you approach with caution, use the proper glues, and follow the proper drying protocols. Use PVA glue and other glues by following these easy instructions.
1. Prepare you wood for the glue
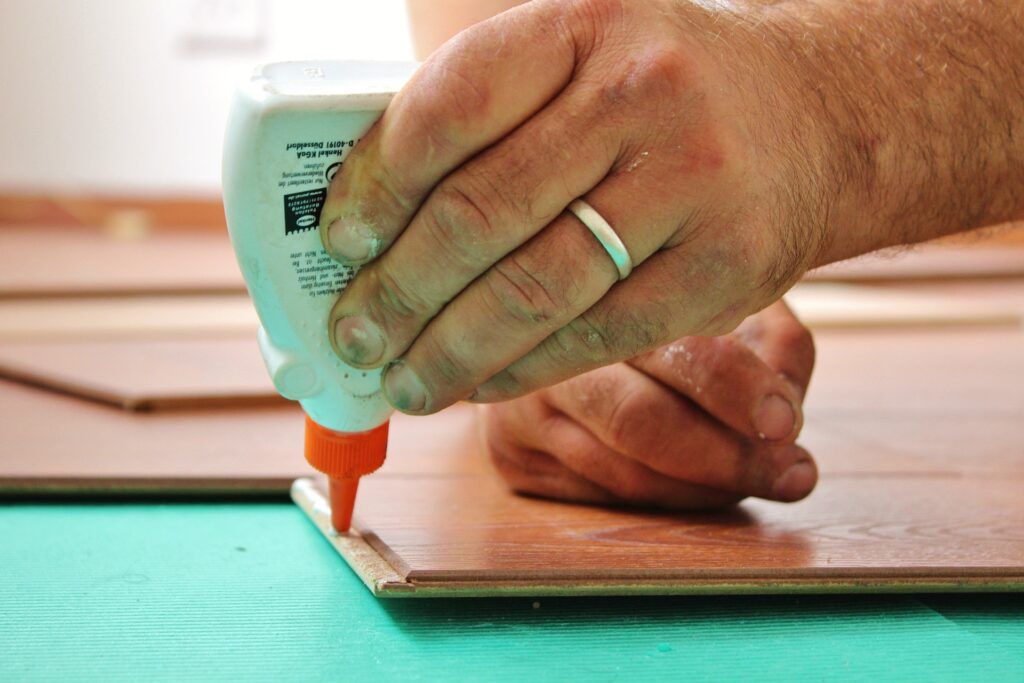
Wood glue works best on the face-grain or the edge-grain of a board and will create an incredibly tight bond. Because wood glue does not adhere well to finishes (varnish, paint, or stains), the joints need to be clean in order to ensure a strong bond is formed by the glue. If you want to apply the finish to your project before you glue it, the solution is to cover the areas that will be glued using masking tape. This will allow you to apply the finish before you glue it. Any masking tape of sufficient quality will do the trick. If you plan on using a water-based finish, it is recommended that you use a tape that does not bleed, such as green Frog Tape or ScotchBlue painter’s tape as this will ensure the best possible results.
2. Apply the wood glue with a brush or plastic spreader
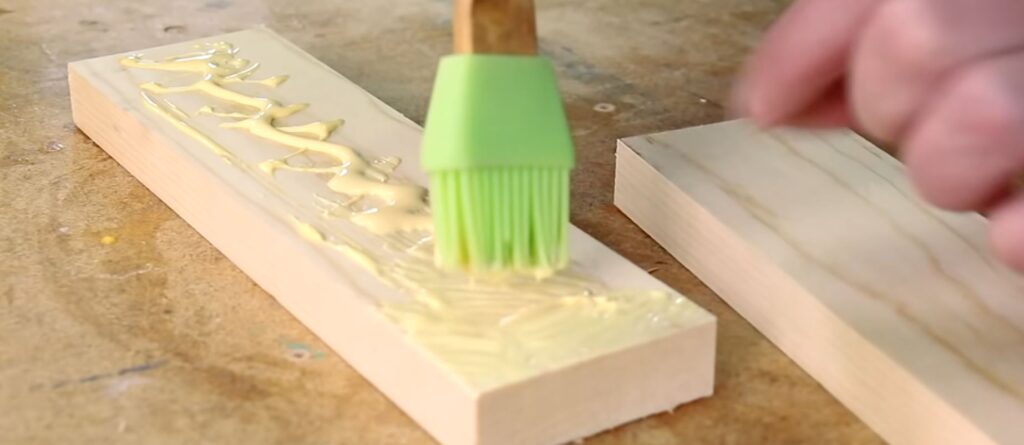
Using a brush or plastic spreader, apply adhesive to the wood you want to join on both sides. Wood glue should be applied evenly and thinly; more glue does not necessarily result in a stronger bond. Any spills or overflows should be cleaned up right away with a cloth. Flux brushes, which are available in hardware and home improvement stores’ plumbing departments, are excellent for applying and spreading glue. They work especially well for adhering complicated joints, like the ones in the pictured coped door rail. A wet brush can be used repeatedly after being washed and submerged in water for a few days. Another great option is a silicone basting brush. They work out really well and you can usually find them at the dollar store. Once glue has hardened it is super easy to remove that dried-up glue.
3. Joining the wood pieces and removing excess glue and air bubbles
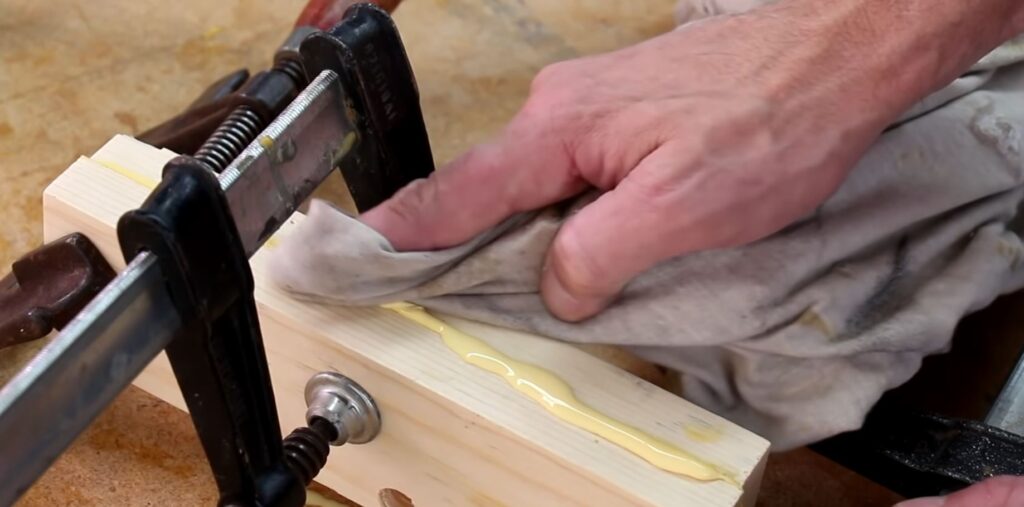
Before you clamp the pieces together and after applying the wood glue and joining the pieces together, gently rub the joints back and forth. This procedure helps to even out the coat and remove any air that might leave gaps. Clamps can then be used after all the extra air and glue have been removed. Wood glue can leave a dark stain on your wood when it comes into contact with steel bar or pipe clamps while being used to secure objects. To avoid this “dark spot” issue, cover the clamps with a sheet of wax paper. The glue drips that would otherwise cover your clamps and workbench will also be caught by it.
4. Add one wood piece at a a Time
If you are gluing several boards or wood pieces together, it can be difficult to get all the top surfaces perfectly aligned. Add each board individually rather than gluing and clamping them all at once. Release the clamps and add another board after giving the glue joint 20 to 30 minutes to dry. This approach will require a little more time but it makes it much simpler to keep the tops of all the boards flush. This also makes flattening and sanding the surface much simpler.
5. Clamp the pieces together and let rest
After you’ve removed any excess glue and air bubbles, apply pressure with wood clamps. The wood clamps will help the wood bond without gaps and will keep it from shifting. The goal with clamping, is to apply even pressure, all along the boards and the more clamps you use, the better. When installing the clamps, it doesn’t need to make be super tight, a good way to judge is just tighten them until you see glue squeezing out. if you are working with soft wood, it may be smart to add a piece of cardboard between the clamp and wood to prevent any marks. The glue must then bond and rest for the time specified by the manufacturer on the glue. For wood glue to achieve it’s maximum strength, it needs about 24 hours of dry time. But that’s not how long you need to wait before moving on with your project. You can usually remove the clamps in about an hour, as long as you are not subjecting the joint to any stress.
Tips that might come in handy when gluing wood
What is the right amount of wood glue?
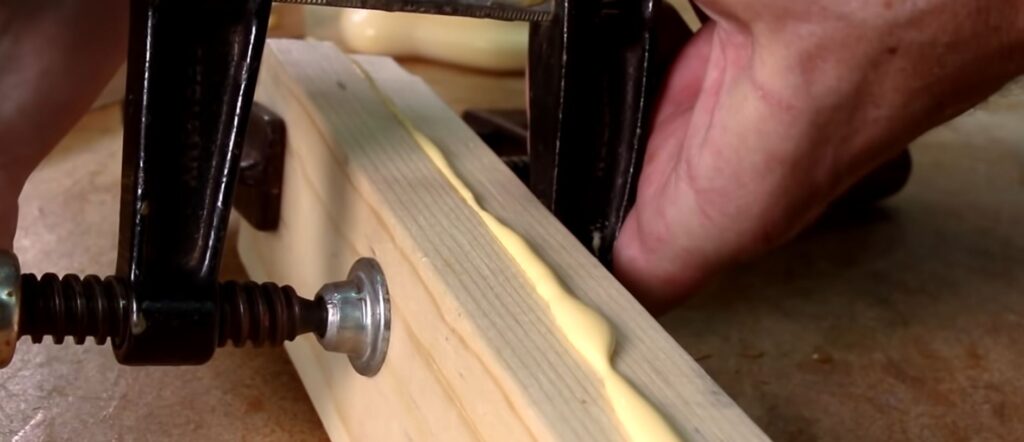
You’ll get a sense for how much glue is just right after some practice. A “starved joint” is one that has too little glue and will be fragile. A mess is created and excess glue is wasted. You’ll become proficient at determining how much to apply. You should see a line of tiny glue beads running continuously. You can easily scrape off the excess jelled glue once this flawless glue joint has had a chance to set a little, leaving you with very little cleanup to do.
How to see hidden wood glue?
Even after you have scraped of or squeezed out excess glue, some may still be hiding. Additionally, if you don’t find it right away, you’ll notice it once you apply stain or finish. To make hidden glue more noticeable, mist some warm water around glue joints. Also softened by the water, the dried glue will be simpler to scrape off. Make sure you don’t spray to must water on the wood as you don’t want to soak the wood and glue.
How to add small wood pieces?
For attaching small trim pieces that would be challenging to clamp, you can use super glue. Simply apply three or four drops to the individual parts to assemble them.
How to apply glue to large pieces of wood?
When adhering large surfaces, a low-cost plastic trowel with notches works very well for spreading glue evenly across the surface. Look for one in the section of the hardware store or home improvement store that is dedicated to flooring or tile. If you are lucky enough to have a pair of “pinking” shears in the family sewing kit, you can fashion a spreader out of an old credit card and use it to spread your own fabric.
What is the best way to remove excess glue?
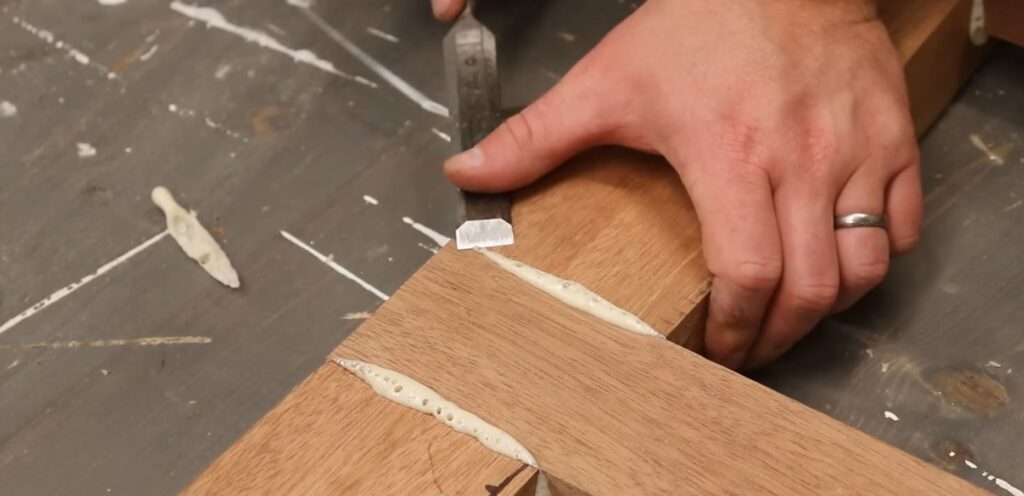
There are many opinions on what is the best way to remove glue, some woodworkers insist that you wipe it down right away with a damp cloth. Some people scrape it off after letting it completely dry. Another option is to wait between 30 and 60 minutes, until the glue changes color and turns into a gel. It is then easy to shave it off with a sharp chisel. This will practically eliminate all glue without creating a mess. Even though there may still be some cleanup to do, it will be much easier than dealing with hard or wet glue.
How to remove hardened Wood Glue?
A precise paint scraper works hardened glue quickly. All those glue beads will easily come off with a sharp steel scraper or, even better, a carbide paint scraper. It can be difficult to remove excess glue with a rag. Additionally, if you don’t completely remove dried glue from the surface while it’s still wet, it may show up as light spots after your project is finished. However, using a synthetic abrasive pad that has been dampened with water will make it simple to remove the glue. Dive the pad into a container of water. Unlike a rag, which is difficult to rinse off glue, the pad’s loose synthetic weave easily releases glue. After rinsing, shake the pad to remove the majority of the water. Then use it to scrape off any remaining wood glue. When finished, dry the surface with a fresh rag. Green abrasive pads are sold alongside cleaning supplies in grocery stores, hardware stores, and home improvement stores.
How to stop wood from sliding around when gluing?
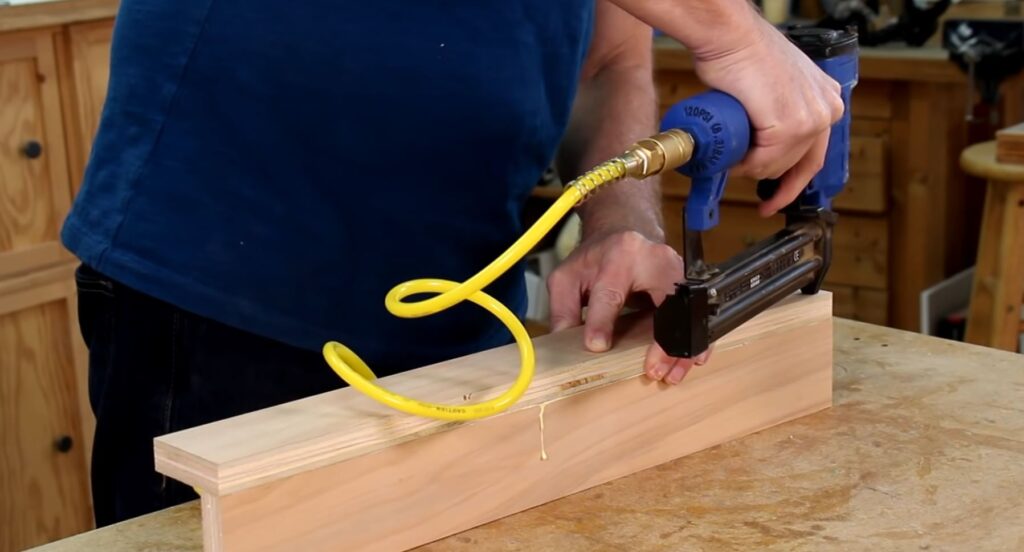
Wood can be difficult to keep in proper alignment while applying clamps because wood glue makes them slick. Before applying the clamps, a simple fix is to use a few well-placed brad or pin nailer to hold the components in place. The nails alone aren’t really strong enough to hold the work pieces together, but they act as clamps. This gives the additional benefit that you can move on with assembly, rather than having to wait an hour. Cut your parts extra long for leg glue-ups and affix the brads where they will be removed during finishing. Place brads instead where the filled holes won’t be too obvious. There is one major drawback as the nails will leave visible holes. This isn’t a problem if the joint is a part of the project that won’t show, or if the project is going to be painted. However, if it’s on a fine piece that you want to stain or finish, it will be nearly impossible to fill those holes and match the color of the wood perfectly.
How Long Does Wood Glue Last?
Wood glue has a long lifespan but it can still expire. PVA wood glue also degrades if it freezes or is left out in the sun for an extended period of time. If the wood glue has hardened, try stirring it with a stick to evenly distribute the glue particles. You can also try to thin it out by adding some water but only up to 5%, as more can lower the function of the glue. We have a post on: How to best store Wood Glue to prolong shelf life if you want to learn more about shelf life of glue and how to extend it.
Can wood glue be used for outdoor projects?
Yes, there is water-resistant wood glue, which would be labeled on the glue. “Water resistant” glues work well for items that will only be wet on occasion. For the majority of outdoor projects, however, choose “waterproof” glue, which is available in both PVA and polyurethane formulations. Both are strong and durable enough to withstand the elements, but polyurethane glue has the added benefit of being able to join materials such as glass, metal, and stone. However, because it is a messy substance, it is recommend to use it with gloves.
How to stop glue from spilling out?
When gluing your wood project there is a big risk of glue spilling our fro the joints your are joining. The typical solution is to clean it with a wet rag or sponge. However, too much water around the joint can weaken it. It is preferable to apply masking tape along both edges of the joint before gluing. The excess glue will then squeeze out onto the tape rather than the wood, and once dry, you can simply peel the glue away.
Slow setting wood glue gives you flexibility
Most wood glues set up quickly, which can be both a benefit and a disadvantage. Sometimes a quick bond is desired, but on a complicated glue-up, you may require more time before the glue begins to set up. Slow-setting glues are labeled with phrases like “longer assembly time” or “longer open time”.
How to avoid sunken joints when using Wood Glue?
Because there is a significant amount of water present in PVA glue, the wood edges that are glued together will expand as a result of the presence of the glue. If you plane or sand glued-up panels before the wood has had sufficient time to dry and return to its original state, you run the risk of being left with sunken joints. The majority of glues based on water are fully cured after about 24 hours, but swollen glue joints can take several days to return to their original size. Wait a few days after gluing up your project before sanding or planing it if you are working on a fine piece of furniture that you hope will become a family heirloom.
How to pick the right Wood Glue?
Polyurethane glue is one of the best wood glue products because it is completely waterproof and bonds wood and other materials well. However, polyurethane glue should be used for joints that are exposed to a great deal of weather. Because it does not fill gaps, it is important to ensure that it has a good fit and that it is clamped. It’s possible that an exterior-grade yellow woodworking glue will work just fine, particularly if it’s shielded from the elements by a layer of outdoor paint or kept someplace dry.
How to best join Wood with other materials?
Not surprisingly wood glue works fantastic on, well, wood, but not so well on anything else. And sometimes you need to join wood to other materials, say metal, or plastic, or glass. In most of these cases, epoxy is a good choice. They always come in two parts, that you need to mix together with a sort setting period of around five minutes. Mix it together really well, and dab it on the parts you want to join, there’s no need to clamp. So why not just use epoxy for everything, instead of even bothering with wood glue? Well for one thing, it’s more expensive, but it’s also messier and a little bit more difficult to use, having to mix it up each time and you can’t really sand it down very easily. And if you’re joining two pieces of wood together, it might not be as strong as wood glue. And since it’s not water-based, clean up is kind of a pain.
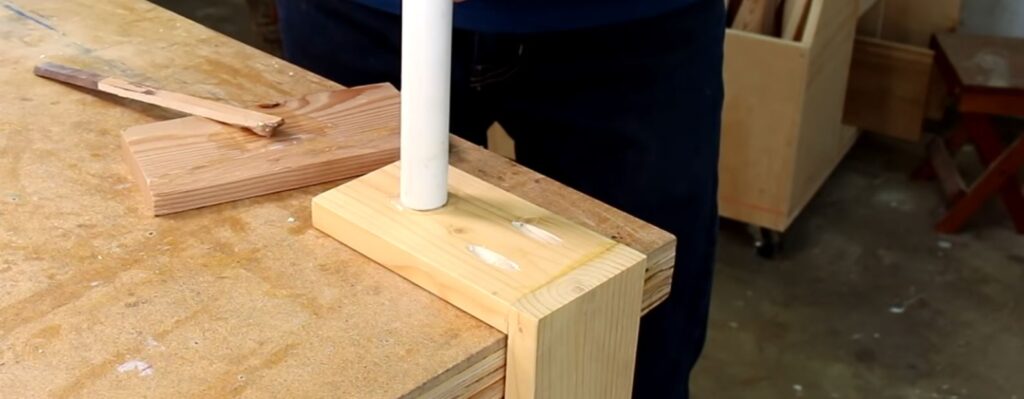
How to Glue on end-grain wood
Gluing on the end-grain of a board is not as strong but it can be acceptable. The end-grain is hollow, that’s the direction that the tree grows and how water and nutrients travel up the trunk. When you apply glue to that end-grain, a lot it gets soaked up, not leaving much for bonding. This is mostly a problem on projects that are going to be subjected to a lot of stress or movement. There are a couple of techniques you can use to improve the strength of end-grain glue-ups. The first is to make up a sizing, for the end-grain. By mixing up a mixture of half glue and half water, and brush it on. The thinned glue fills in those pores. Let it dry for a while and then glue together your pieces like normal with full-strength glue. Another method is just to force full-strength glue into the pores of the end-grain. You’ll see and feel it being absorbed. Then just let it dry a few minuets and glue it up as normal.
Frequently asked questions about Wood Glue
What glue holds wood together?
PVA glue, which stands for polyvinyl acetate, is the name of the adhesive that is often used to keep wood together. This kind of glue is a powerful, waterproof adhesive that is often used in bookbinding, paper crafts, and other uses in addition to woodworking. Other glues, such as epoxy and polyurethane glue, may also be used in woodworking.
What is the best wood glue Brand?
Wood glue comes in a wide variety of brands, and which one is appropriate for a certain project will rely on its unique specifications. Elmer’s, Titebond, and Gorilla Glue are a few of the most widely used wood glue brands. The kind of joint you’re attempting to make and the precise materials you’re using will ultimately determine the best wood glue for your project. Before beginning a bigger job, it is wise to test a little quantity of glue on a scrap piece of wood.
What is stronger epoxy or wood glue?
dStrong adhesives that are often used in woodworking and other applications include epoxy and wood glue. Epoxy, on the other hand, is often thought to be more robust than wood glue. Epoxy is a two-part adhesive that has to be combined before use and forms a highly solid, long-lasting connection. It is often used to link materials that will be put under a lot of stress or for applications that call for a high degree of strength and durability. The single-part adhesive known as wood glue, on the other hand, is often used in lighter-duty situations where a strong connection is still required but the materials won’t be put under as much strain. Epoxy is often thought of as being the stronger of the two adhesives, but wood glue may also be an excellent option for many applications. See What is the strongest glue for wood projects? for more info.

