
A few strips of veneer edging and some easy tricks are all you need to conceal a plywood edge.
One of my favorite techniques of hiding edges on a plywood project is to add a trip of edge-banding or veneer. It’s a ribbon made out of wood, that is the thickness of a thick paper piece.
First, you need to be sure that your edging is big enough to cover the area that you’re working on. Always leave a bit of space for mistakes.
You need to buy a veneer that will match the color of your project. Luckily, manufacturers sell veneer in multiple variations, which match all the popular wood types and colors.

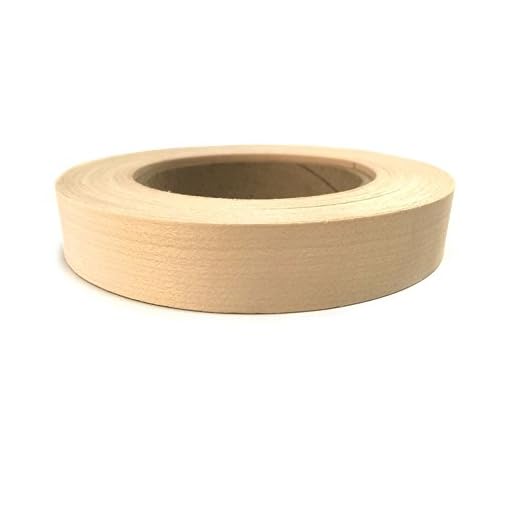

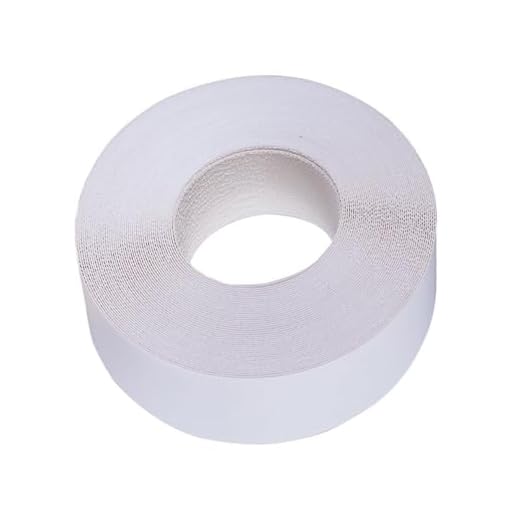

Table of Contents
Edging types
Veneer edging is basically very thinly sliced wood. That’s it. How they differ is the adhesive they use.
Adhesive tape veneer
Although it costs a bit more, it’s the most convenient. Just strip off the tape, position your edging and press it into your wood.
Glue-on veneer
The most popular and the cheapest veneer. It’s a simple wood strip without any glue on the back. To make them stick you need to buy some adhesive. I recommend contact cement. Be aware, you need to be fast and precise as this adhesive bonds quickly

You can use a slip sheet to assist yourself with gluing the veneer on. The slip sheet will enable you to glue the veneer on just a little piece at a time.

Iron-on veneer
It’s a veneer that comes with a layer of a special adhesive on the back. It’s reactive to heat. As you can imagine, you need to place the veneer in place, adjust it, and use an iron to heat it up.
You can use a regular home iron, but there are professional woodworking irons that you can buy now. You need to circle around the veneer using the iron, and never stop in one place for too long, so the surface won’t be burned and stays even.
Tips for edgebanding plywood
It doesn’t matter what kind of veneer edging you’re using, there are a few tricks that will help you with your edgebanding.
Prepare your edge
Clean your edge thoroughly. Nothing screams “amateur” like particles of wood trapped under the veneer edge. I usually use a fine piece of sandpaper to polish the edge. Then I run my hand to detect if there are any imperfections left.
Size of your edge
Before applying your veneer, make sure it’s a bit longer and wider than your edge. You can cut it to length, but always leave an inch or two than they need to be. I will trim the unneeded ends later on.
Rolling the veneer
A good trick is to use a rubber roll on your edge, right after you glue your veneer on. When pushed, it rounds itself, smoothing out irregularities in the veneer. Do not push too hard either, so you don’t press out the glue from under the veneer.
Trimming the ends
Always trim the ends first.
Put the edge downwards so that the veneer is pressing against the table.
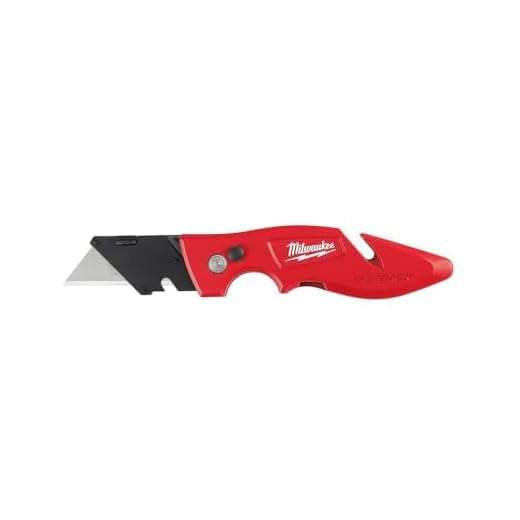
Using a utility knife that has been sharpened, cut off the excess veneer edge. Run your blade against the edge of the plywood for a clean slice, perfectly in line with the corner.
Trimming the edges
Always trim the edges second.
This one is more difficult. Again we will use a very sharp utility knife. The alternative is using a specialist edge-trimming tool.

If using a utility knife, you will need to trim the banding as near as humanly possible to the surface of your plywood without scratching it. Similar to the ends, the plywood gives you a cutting guide.
The big difference here is you need to be more precise with your movement and that you probably want to hold your blade at a slight angle. One important thing is that you should probably never cut against the grain of your veneer edging, as this will result with a coarser cut.
Clean the edges
Once you’re done will all the cutting, wipe the edges to clean them. The last step is to bevel your edge. Just take a sanding block with a fine-grit paper and run it a few times along all the edges of your veneer. This will clean out all the imperfections and leftover glue.

