Woodworking is a rewarding and creative activity that allows you to create beautiful and functional pieces from various types of wood. Whether you are a beginner or an experienced woodworker, one of the key aspects of producing quality work is ensuring a smooth, well-finished surface. Sandpaper plays a vital role in this process by helping you remove imperfections, prepare surfaces for finishes, and achieve the desired level of smoothness. In this comprehensive guide, we will discuss the different types of sandpaper, how to choose the right one for your project, and how to use it effectively to achieve the best results.
Table of Contents
What are the different types of sandpaper and when should I use them?
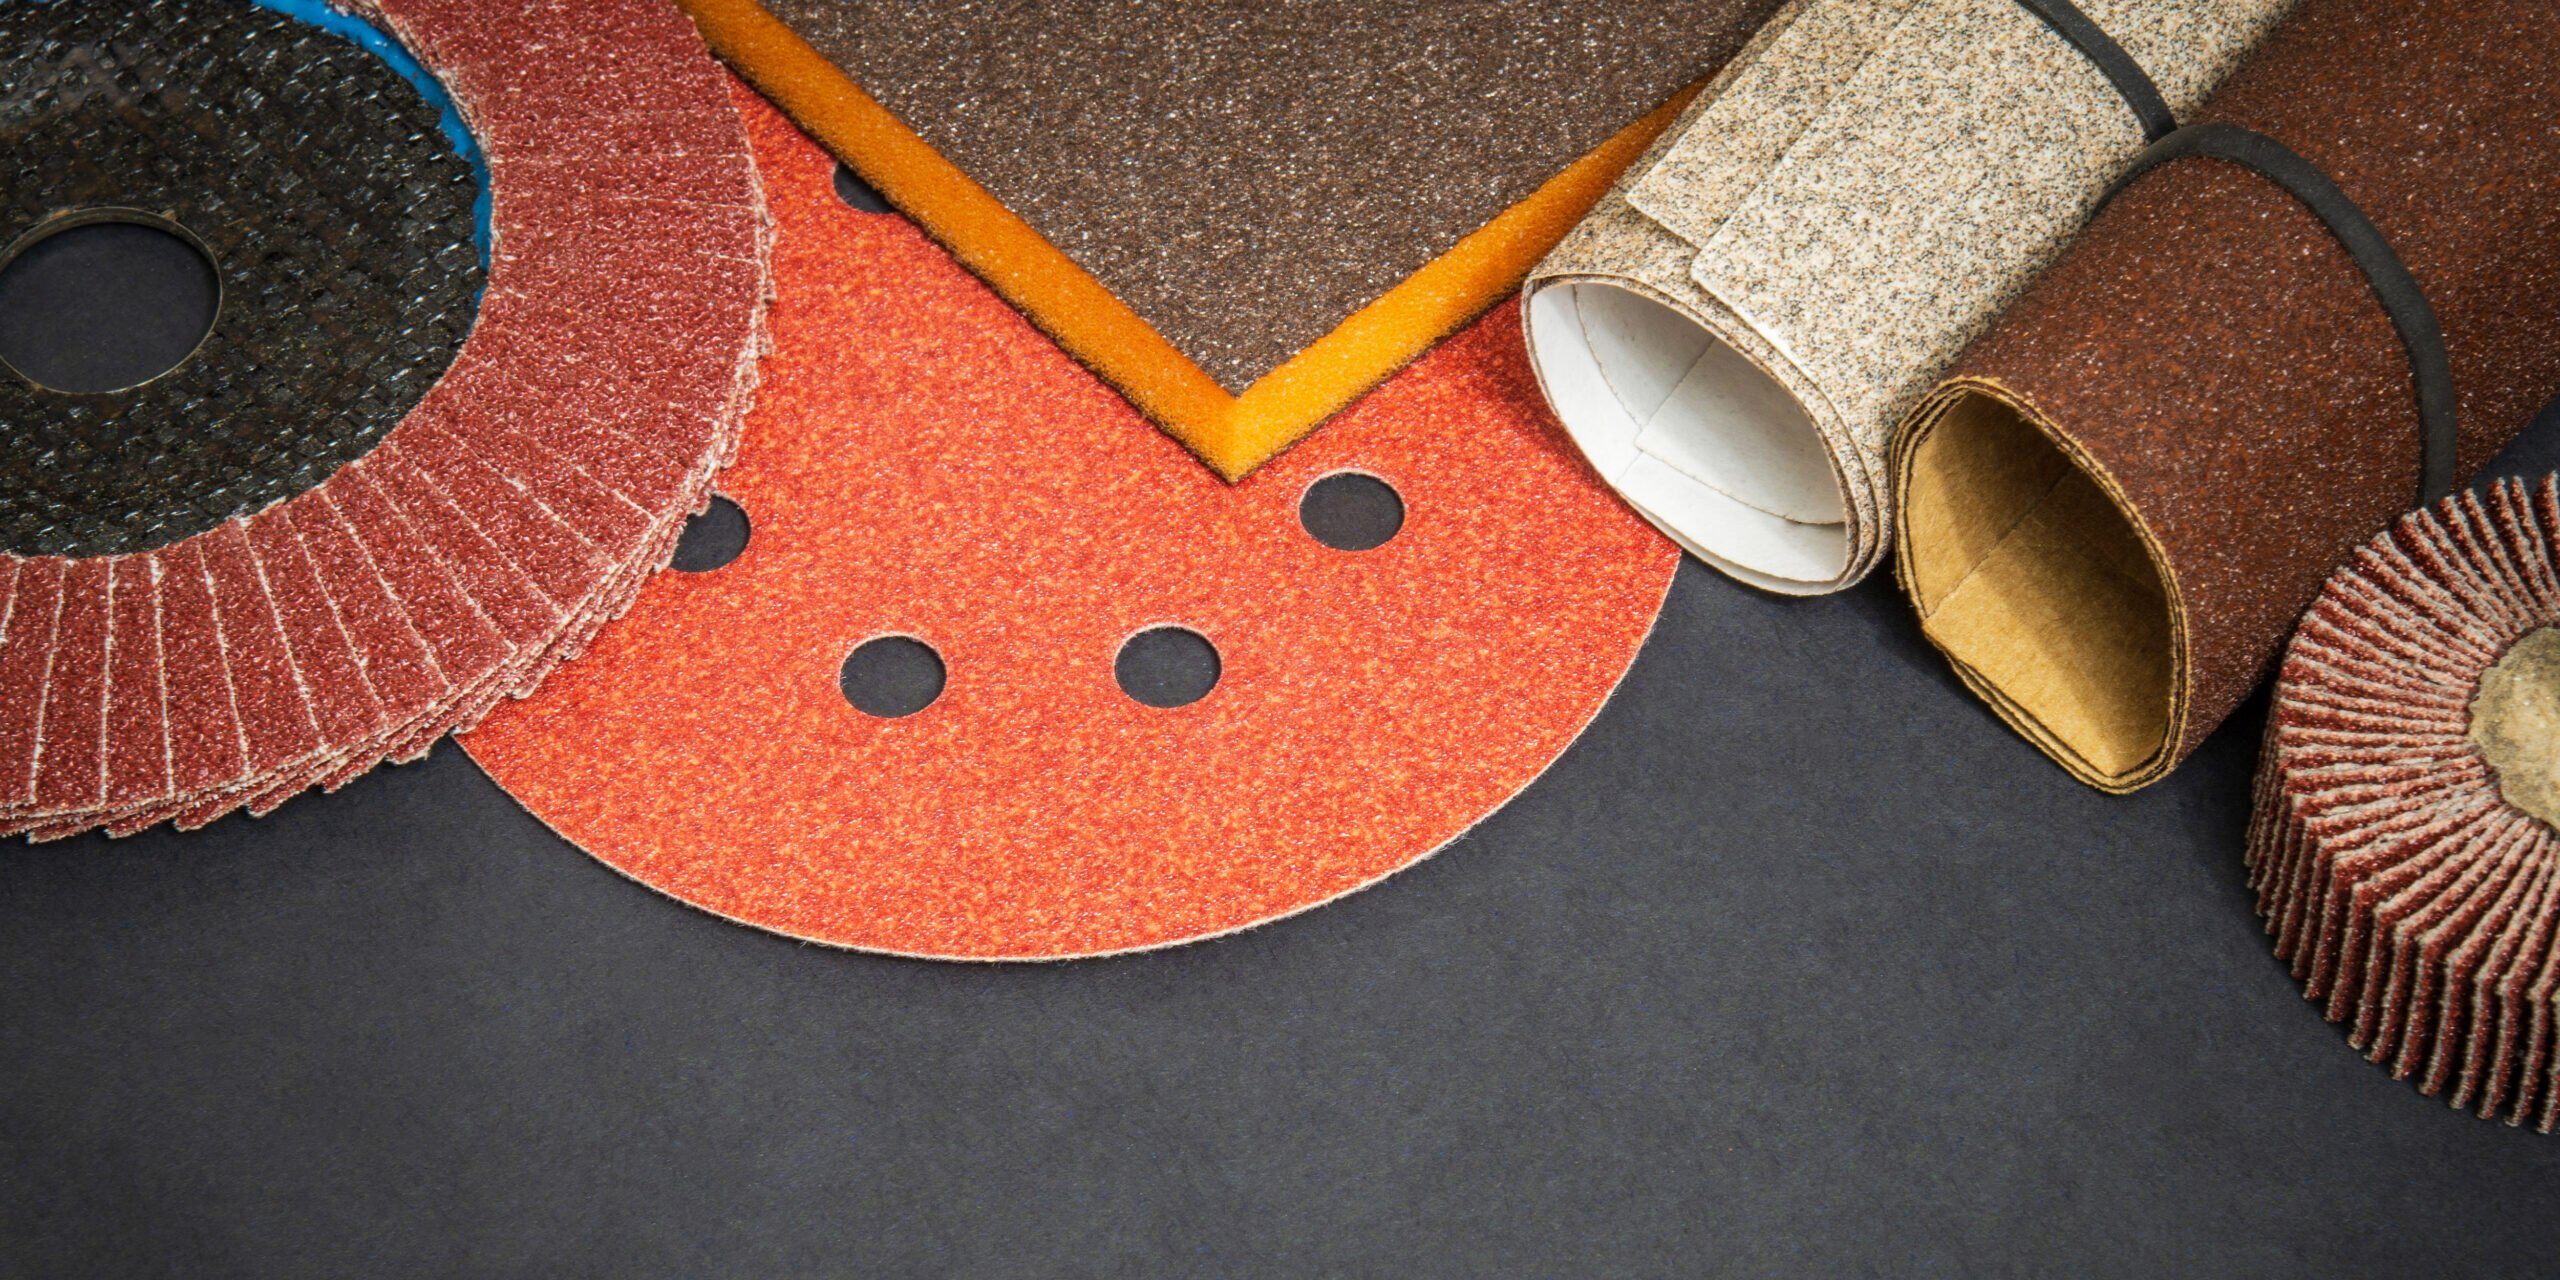
There are several types of sandpaper, each designed for specific purposes and materials. The most common types include:
- Aluminum Oxide: Known for its durability and versatility, aluminum oxide sandpaper works well for most woodworking projects. It can be used on both hardwood and softwood surfaces and is ideal for power sanding.
- Garnet: This natural abrasive is best suited for hand sanding and works well on bare wood surfaces. It provides a smoother finish but wears out more quickly than other types of sandpaper.
- Silicon Carbide: Also known as wet-dry sandpaper, silicon carbide sandpaper can be used with water or oil for lubrication. It is ideal for smoothing finishes, sanding between coats of paint or varnish, and removing rust from metal surfaces.
- Ceramic: Ceramic sandpaper is highly durable and works well for aggressive sanding jobs, such as removing heavy stock or leveling rough surfaces. It can be used on both hardwood and softwood surfaces.
How do I choose sandpaper for wood surfaces?
To choose the right sandpaper for your woodworking project, consider the following factors:
- The type of wood: Different types of wood require different abrasives. For example, hardwoods like oak and maple typically require aluminum oxide or ceramic sandpaper, while softwoods like pine and cedar work best with garnet sandpaper.
- The desired finish: The type of sandpaper you choose will depend on the level of smoothness you want to achieve. If you need a fine finish, opt for a higher grit number. For rougher surfaces or heavy stock removal, choose a lower grit number.
- The stage of the project: Different stages of a woodworking project may require different types of sandpaper. For example, you might use coarse-grit sandpaper for shaping and rough-sanding, and finer-grit sandpaper for finish sanding and polishing.
What grit sandpaper should I use for my project?
The grit of sandpaper refers to the number of abrasive particles per square inch. The lower the grit number, the coarser the sandpaper, and the more material it will remove. Conversely, a higher grit number indicates a finer sandpaper that will produce a smoother finish. Here’s a general guideline for choosing sandpaper grits for your woodworking projects:
- Coarse (40-60 grit): Best for heavy stock removal, shaping, and leveling rough surfaces.
- Medium (80-120 grit): Suitable for general-purpose sanding, smoothing surfaces, and removing minor imperfections.
- Fine (150-220 grit): Ideal for finish sanding, preparing surfaces for staining or painting, and smoothing between finish coats.
- Very Fine (240-400 grit): Used for polishing and creating ultra-smooth surfaces.
How does sandpaper grit affect the final finish of my woodworking project?
The grit of sandpaper you choose will have a significant impact on the final finish of your woodworking project. Coarse-grit sandpaper removes more material, which can result in a rough or uneven surface. On the other hand, fine-grit sandpaper produces a smoother surface but may take longer to achieve the desired level of smoothness. The key to a flawless finish is to start with a coarser grit and gradually progress to finer grits, removing any scratches or imperfections along the way.
What is the difference between open coat and closed coat sandpaper?
Open coat sandpaper features abrasive particles that are spaced further apart, leaving open spaces between them. This design allows for better removal of wood fibers, dust, and debris, making it less likely to clog. Open coat sandpaper is particularly useful for sanding softwoods, where clogging is more likely to occur.
Closed coat sandpaper, on the other hand, has a higher concentration of abrasive particles, covering the entire surface of the backing material. This design results in a more aggressive cut, making it suitable for harder materials and faster stock removal. However, closed coat sandpaper is more prone to clogging, especially when working with resinous or fibrous woods.
Can I use the same sandpaper for both hand sanding and power sanding?
While some types of sandpaper can be used for both hand sanding and power sanding, it is important to choose the right backing material and abrasive type for each method. Hand sanding typically requires more flexible backing materials, such as paper or cloth, whereas power sanding usually requires sturdier backing materials, like polyester or mylar.
Furthermore, power sanding generates more heat and pressure, which can wear out sandpaper quickly. Choosing a durable abrasive, like aluminum oxide or ceramic, is crucial for power sanding applications.
What are the benefits and drawbacks of using different sandpaper backing materials?
The backing material of sandpaper plays a significant role in its performance and durability. Common backing materials include:
- Paper: Lightweight, flexible, and affordable, paper-backed sandpaper is suitable for hand sanding and light-duty power sanding. However, it is prone to tearing and may not hold up well under heavy pressure or prolonged use.
- Cloth: Cloth-backed sandpaper is more durable and flexible than paper-backed sandpaper, making it ideal for hand sanding and power sanding applications. It can also be used for wet sanding. The downside is that cloth-backed sandpaper is generally more expensive than paper-backed options.
- Polyester or Mylar: These synthetic materials offer exceptional durability and resistance to heat, moisture, and tearing. They are suitable for heavy-duty power sanding but can be more expensive than paper or cloth-backed sandpaper.
How do I properly clean and maintain my sandpaper for longer use?
Proper maintenance can prolong the life of your sandpaper and help you achieve better results. To clean and maintain your sandpaper, follow these tips:
- Remove dust and debris from the sandpaper surface by tapping it against a hard surface or using a soft brush or compressed air.
- For clogged sandpaper, gently rub the abrasive side against a rubber cleaning block or an old shoe sole to remove the buildup.
- Store your sandpaper in a dry, cool place to prevent moisture damage and curling.
- When using wet-dry sandpaper, rinse it in water or a suitable lubricant to remove debris and prevent clogging.
What is the role of sandpaper in the wood finishing process, such as staining and painting?
Sandpaper plays a crucial role in preparing wood surfaces for staining, painting, or applying other finishes. Proper sanding removes surface imperfections, levels the wood grain, and creates a smooth surface that allows finishes to adhere better and look more even.
Start with a coarse-grit sandpaper to remove major imperfections and gradually progress to finer grits for a smooth finish. Before applying a stain or paint, use a fine-grit sandpaper (150-220 grit) to create a uniform surface that will absorb the finish evenly. Sanding between coats of paint or varnish with a very fine-grit sandpaper (240-400 grit) helps remove any brush marks or imperfections and promotes better adhesion of subsequent layers.
How do I choose the right sandpaper for different wood species?
Different wood species have distinct characteristics that affect their sanding requirements. Hardwoods, like oak and maple, are denser and require durable abrasives, such as aluminum oxide or ceramic sandpaper. Softwoods, like pine and cedar, can be sanded with garnet or aluminum oxide sandpaper.
When working with exotic or oily woods, use open-coat sandpaper to prevent clogging. Additionally, adjust the sandpaper grit according to the hardness of the wood and the desired finish. Start with a coarser grit for rough surfaces and switch to finer grits as you progress.
What are the best sandpaper brands and where can I purchase them?
Some popular sandpaper brands include 3M, Norton, Mirka, and Klingspor. These brands offer a wide range of sandpaper types, grits, and backing materials suitable for various woodworking projects.
You can purchase sandpaper from local hardware stores, woodworking supply shops, or online retailers like Amazon, Home Depot, and Woodcraft.
When should I switch from a coarse to a fine grit sandpaper during my woodworking project?
Switch from a coarse to a fine grit sandpaper when you have removed the major imperfections, leveled the surface, and achieved a relatively smooth texture. Begin with a coarse grit (40-60 grit) for heavy stock removal and shaping, then move on to medium grit (80-120 grit) for general-purpose sanding and smoothing. Finally, use fine (150-220 grit) and very fine (240-400 grit) sandpapers for finish sanding, polishing, and preparing surfaces for staining or painting.
What are the common mistakes to avoid when sanding wood surfaces?
- Applying too much pressure: Excessive pressure can cause the sandpaper to wear out quickly, create uneven surfaces, or damage the wood. Apply light, even pressure when sanding.
- Skipping grits: Progressing gradually from coarse to fine grits helps remove scratches and achieve a smoother finish. Skipping grits can leave deep scratches that are difficult to remove later.
- Sanding against the grain: Always sand in the direction of the wood grain to avoid cross-grain scratches and ensure a smooth surface.
- Using worn-out sandpaper: Replace sandpaper when it becomes worn or clogged, as it will be less effective and may cause uneven results.
Are there any eco-friendly or reusable sandpaper alternatives available?
Yes, there are eco-friendly and reusable sandpaper alternatives available. Some options include:
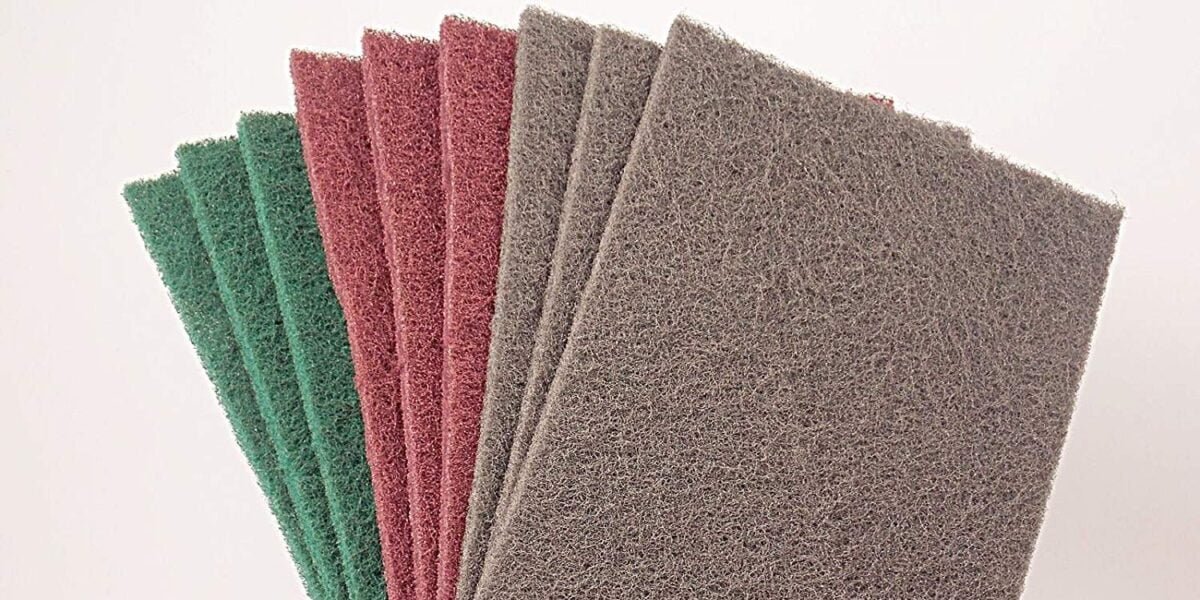
- Mesh sanding sheets: Made from a durable, open-weave material, mesh sanding sheets can be washed and reused multiple times. They also allow dust to pass through, reducing clogging.
- Non-woven abrasive pads: These pads, made from nylon fibers embedded with abrasive particles, can be washed and reused. They come in various grits and are suitable for hand sanding or use with orbital sanders.
- Recycled abrasive products: Some brands offer sandpaper made from recycled materials, reducing the environmental impact of production.
How can I improve my sanding technique for better results?
- Use a sanding block: A sanding block ensures even pressure distribution and helps you maintain a flat surface.
- Keep your sandpaper clean: Regularly clean your sandpaper to remove debris and prevent clogging.
- Sand in a consistent pattern: Maintain a consistent sanding pattern, moving in the direction of the wood grain and overlapping each pass slightly to ensure even coverage.
- Gradually progress through grits: Start with a coarse grit and work your way up to finer grits, ensuring that you remove any scratches or imperfections from the previous grit before moving on.
- Check your progress: Periodically stop sanding and inspect your work under good lighting. Use your fingertips to feel for any rough spots or imperfections.
- Use a tack cloth: After sanding, use a tack cloth to remove any residual dust from the surface before applying a finish.
What safety precautions should I take when using sandpaper on woodworking projects?
- Wear appropriate personal protective equipment (PPE): Use safety glasses to protect your eyes from dust and debris, and wear a dust mask or respirator to prevent inhalation of wood dust.
- Use proper ventilation: Work in a well-ventilated area to minimize dust buildup and ensure adequate air quality.
- Keep your work area clean: Regularly clean your workspace to reduce dust accumulation and the risk of slips or falls.
- Follow tool safety guidelines: When using power sanders, follow the manufacturer’s safety guidelines and always turn off and unplug the tool before changing sandpaper or making adjustments.
Conclusion
Choosing the right sandpaper is critical for achieving a smooth, well-finished surface in your woodworking projects. Understanding the different types of sandpaper, their applications, and how to use them effectively will help you produce high-quality work that showcases your craftsmanship. By following the tips and advice in this comprehensive guide, you can master the art of sanding and elevate your woodworking skills to new heights.