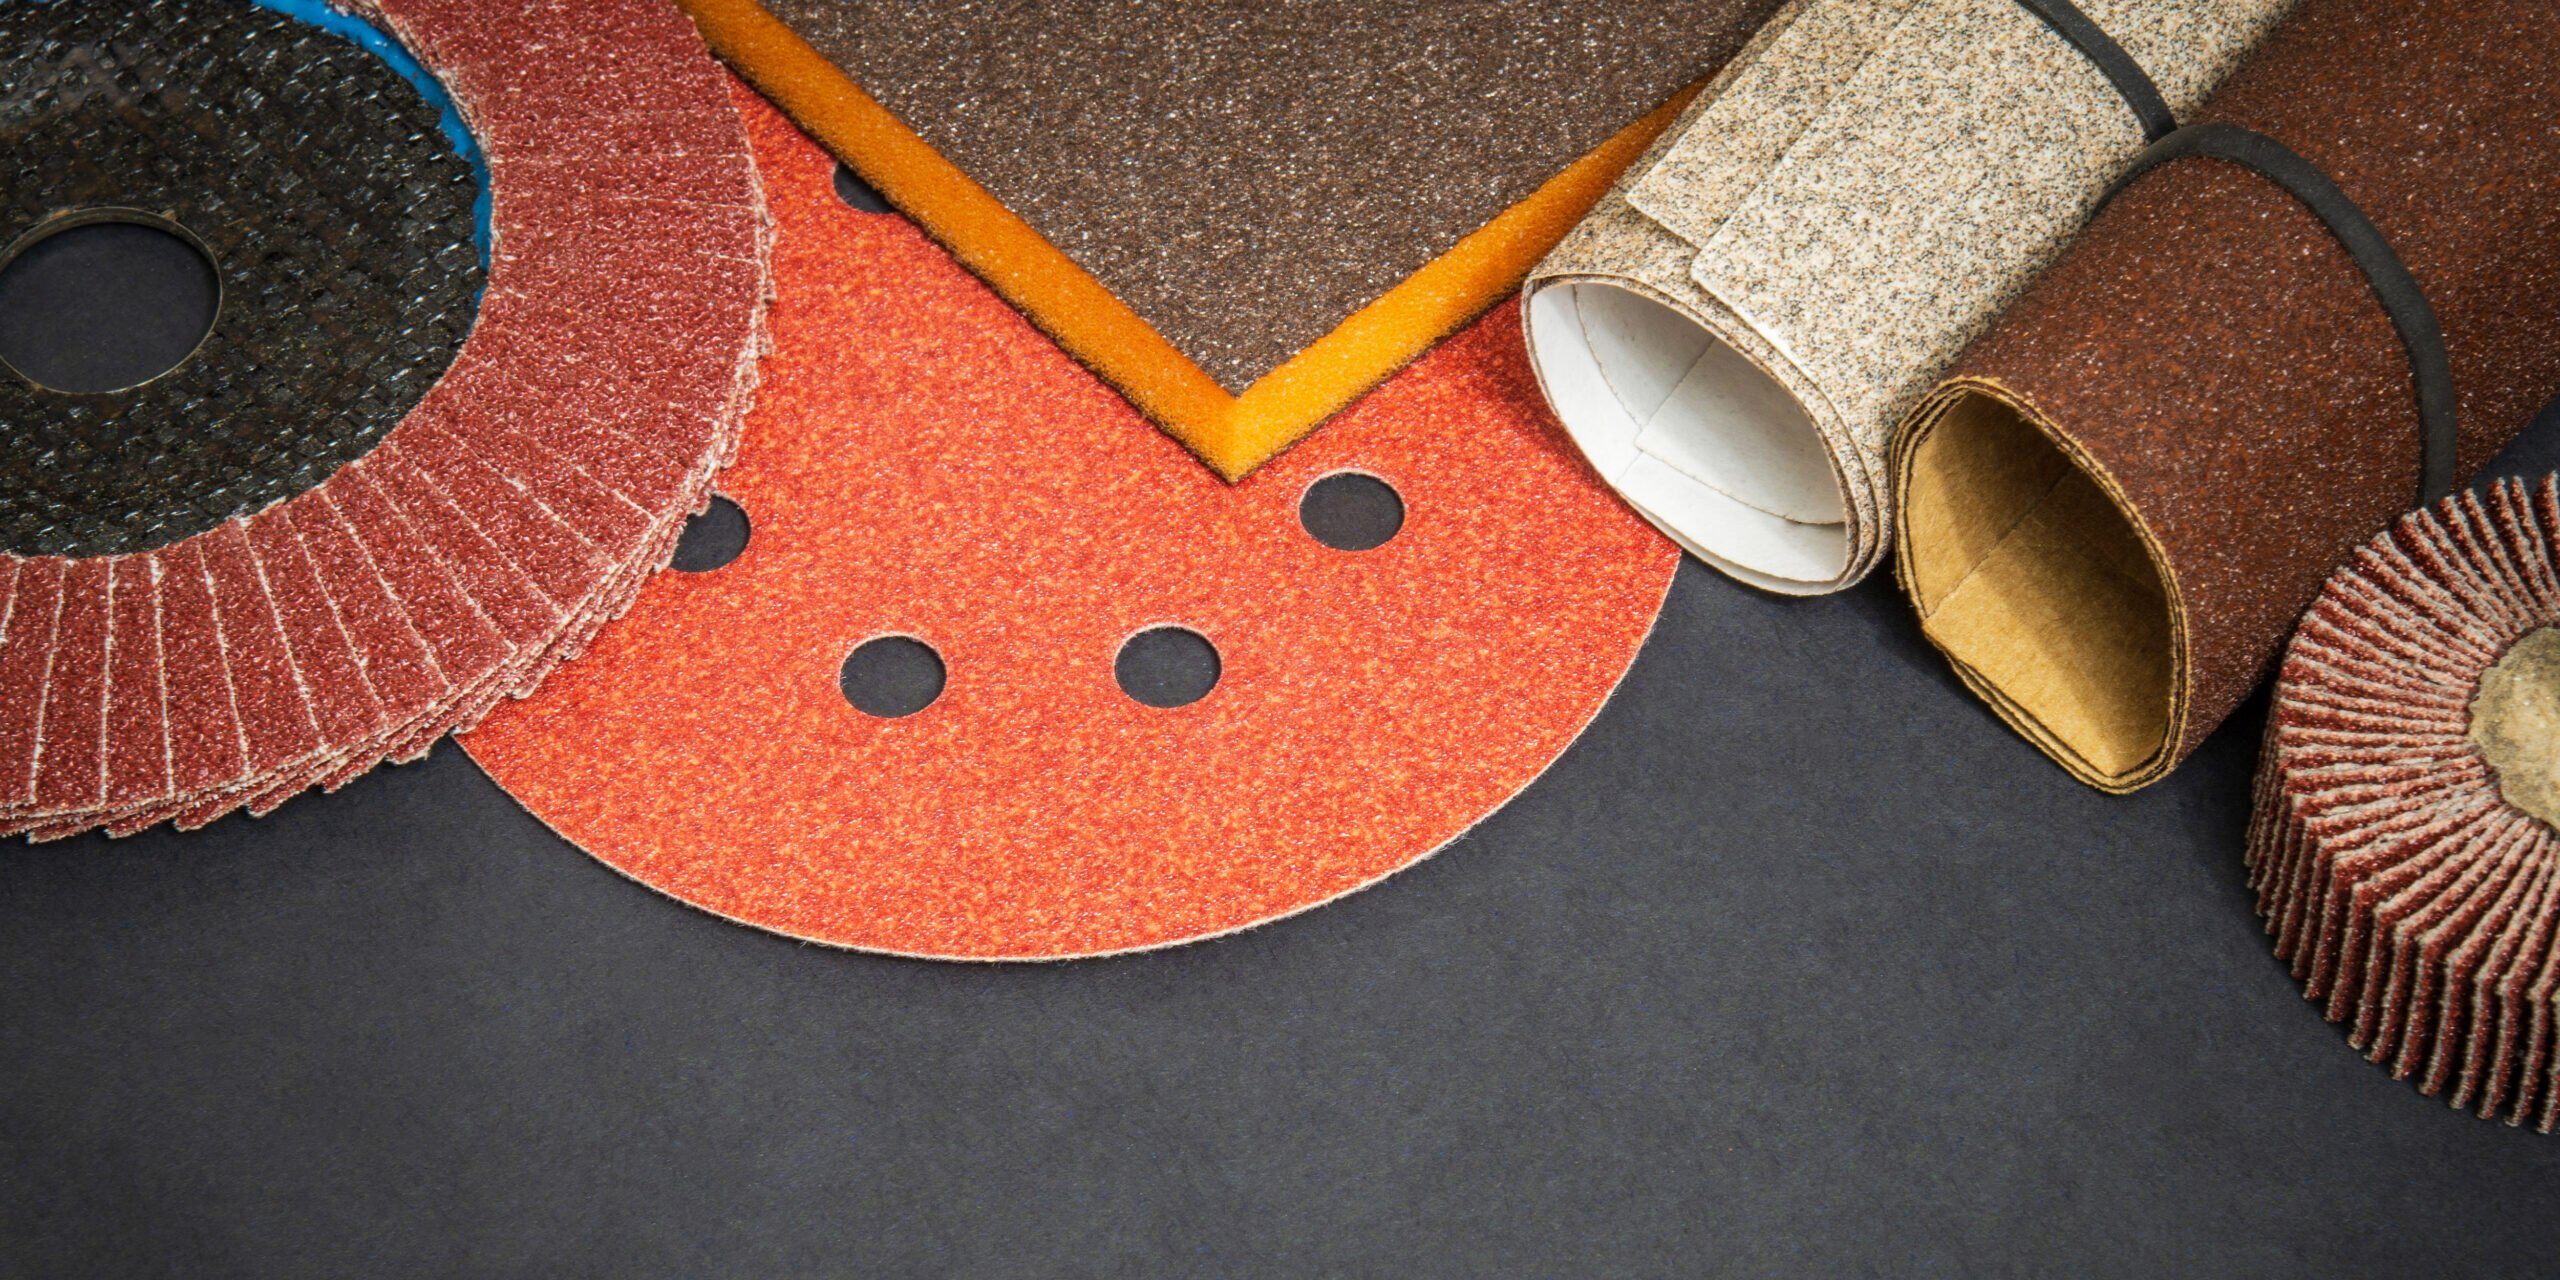
Woodworking is a versatile and fulfilling hobby that allows you to create beautiful and functional pieces from various types of wood. One of the critical aspects of woodworking is sanding, which ensures a smooth, professional finish for your projects. Sanding is the process of abrading the wood surface using sandpaper or other abrasive materials to achieve the desired smoothness and finish. This post will delve into the intricacies of sanding for woodworking with reclaimed, exotic, and plywood woods, guiding you through essential techniques and tips to enhance your woodworking skills.
Table of Contents
Sanding for Woodworking with Reclaimed Wood
Reclaimed wood offers a unique character and charm that makes it an attractive choice for woodworking projects. However, working with this material can present some challenges, particularly when it comes to sanding and finishing. In this section, we will explore the ins and outs of sanding for woodworking with reclaimed wood, providing valuable techniques and tips for achieving a smooth, professional finish that enhances the wood’s natural beauty and history. By mastering these methods, you can transform reclaimed wood into stunning, one-of-a-kind creations.
How to Properly Sand Reclaimed Wood for Use in Woodworking Projects
Reclaimed wood is a popular choice for woodworking projects due to its unique character, history, and sustainability. However, the process of sanding reclaimed wood can be challenging because of its rough and weathered surfaces. To effectively sand reclaimed wood, follow these steps:
- Inspect the wood for any debris, nails, or screws that may damage your sandpaper or tools. Remove these with a metal detector, pliers, or a hammer and nail set.
- Begin sanding with a coarse grit sandpaper (60-80 grit) to remove the rough surface and any remaining paint, dirt, or debris.
- Progress to medium grit sandpaper (100-120 grit) to smooth out the wood further.
- Finally, use a fine grit sandpaper (180-220 grit) for a smooth, even finish.
Tips for Removing Old Finishes and Stains from Reclaimed Wood
Old finishes and stains can be stubborn and difficult to remove. Consider these tips for effectively stripping old finishes:
- Use a paint scraper or putty knife to gently scrape away loose paint and finish.
- Apply a chemical paint stripper to the wood and follow the manufacturer’s instructions for use. Be sure to wear protective gloves and eyewear.
- Use a stiff-bristle brush or steel wool to scrub away the softened finish.
- Sand the wood with coarse grit sandpaper to remove any remaining finish or stain.
How to Sand and Finish Rough Reclaimed Wood Surfaces
Rough reclaimed wood surfaces require special attention to achieve a smooth and even finish:
- Begin by sanding with coarse grit sandpaper to remove major imperfections and level the surface.
- Use a belt sander, orbital sander, or hand sanding with a sanding block for better control and even pressure distribution.
- Sand with the grain of the wood, moving from coarse to fine grit sandpaper.
- Wipe the wood surface with a tack cloth or damp rag between sanding stages to remove dust.
- Apply a suitable finish, such as oil, wax, or polyurethane, to protect the wood and enhance its appearance.
Sanding Techniques for Preserving and Highlighting the Character of Reclaimed Wood
To preserve and highlight the unique character of reclaimed wood, consider these sanding techniques:
- Use a light touch when sanding to avoid removing too much material and compromising the wood’s character.
- Focus on smoothing out rough spots while maintaining the wood’s natural texture and patina.
- For distressed or weathered finishes, lightly sand the wood with fine grit sandpaper to create a smooth surface without removing the aged appearance.
- Experiment with different sanding techniques and finishes to achieve the desired look and feel.
How to Properly Prepare and Sand Reclaimed Wood for a Smooth and Even Finish
Proper preparation is essential to achieve a smooth and even finish on reclaimed wood:
- Inspect and clean the wood thoroughly, removing any debris, nails, or screws.
- Fill any holes, cracks, or gouges with wood filler, sanding it smooth once it has dried.
- Sand the wood in stages, starting with coarse grit sandpaper and progressing to finer grits.
- Vacuum or wipe down the wood between sanding stages to remove dust and debris.
- Apply a pre-stain wood conditioner if staining to ensure even absorption of the stain.
Sanding for Woodworking with Exotic Woods
Exotic woods are known for their striking appearance and distinctive properties, making them a popular choice for woodworking projects that demand an exceptional touch. In this section, we will discuss the intricacies of sanding for woodworking with exotic woods, delving into the best techniques and tips for handling these unique materials. By following these guidelines, you can ensure a smooth and professional finish that highlights the captivating beauty of exotic woods and elevates your woodworking creations to new heights.
How to Properly Sand Exotic Woods for Woodworking Projects
Exotic woods are prized for their unique appearance and properties, but they can also pose challenges when it comes to sanding and finishing. In this section, we will delve into the best practices for properly sanding exotic woods in your woodworking projects, taking into account their specific characteristics and potential difficulties. By employing these techniques, you can showcase the natural beauty of exotic woods while ensuring a smooth, professional finish that highlights their exceptional qualities.
Exotic woods, known for their unique colors, grain patterns, and textures, require special care when sanding to avoid damaging their delicate surfaces. Follow these steps to sand exotic woods properly:
- Begin with a medium grit sandpaper (100-120 grit) to avoid tearing or damaging the wood fibers.
- Progress to finer grits (180-220 grit) for a smooth finish, being careful not to sand too aggressively.
- Always sand with the grain of the wood to minimize the risk of scratching or tear-out.
- Use a tack cloth or damp rag to remove dust between sanding stages.
Tips for Avoiding Tear-Out and Other Common Issues When Sanding Exotic Woods
Sanding exotic woods can be a delicate process, as these materials often exhibit unique properties that require special care and attention. In this section, we will provide essential tips for avoiding tear-out and other common issues when sanding exotic woods, ensuring that your woodworking projects maintain their integrity and showcase the distinctive beauty of these sought-after materials. With these guidelines in mind, you can confidently tackle any exotic wood project, achieving a flawless finish and preserving the wood’s natural allure
Tear-out, a common issue with exotic woods, occurs when wood fibers are ripped from the surface during sanding. To minimize tear-out and other issues, consider these tips:
- Choose a sharp, high-quality sandpaper that is less likely to cause damage.
- Sand with light pressure and a slower pace, allowing the sandpaper to do the work.
- Experiment with different sanding techniques, such as hand sanding or using a random orbital sander, to find the best method for your specific wood type.
- Avoid sanding against the grain, as this can lead to increased tear-out.
How to Sand and Finish Highly Figured and Burled Woods
Highly figured and burled woods, with their intricate grain patterns, require special attention when sanding and finishing:
- Begin with medium grit sandpaper and progress to finer grits, always sanding with the grain.
- Use a light touch and slow pace to avoid damaging the wood’s unique characteristics.
- Apply a clear finish, such as oil or lacquer, to enhance the wood’s natural beauty and protect it from damage.
- Consider using a grain filler for woods with large pores to achieve a smoother finish.
Sanding Techniques for Bringing Out the Natural Beauty of Exotic Woods
To showcase the natural beauty of exotic woods, adopt these sanding techniques:
- Sand the wood through multiple grits, finishing with ultra-fine grit sandpaper (320-400 grit) for a polished appearance.
- Apply a clear or tinted finish that complements the wood’s natural color and grain pattern.
- Use a high-gloss finish to accentuate the wood’s unique features and depth.
- Experiment with different sanding and finishing techniques to achieve the desired appearance.
How to Properly Prepare and Sand Oily and Resinous Woods for a Smooth Finish
Oily and resinous woods, often found in exotic species, present unique challenges when it comes to sanding and finishing. In this section, we will explore the essential techniques for properly preparing and sanding these types of woods, ensuring a smooth and even finish despite their naturally challenging properties. By mastering these methods, you can confidently work with oily and resinous woods, unlocking their full potential and creating stunning, professional-quality pieces.
Oily and resinous woods can be challenging to sand and finish due to their natural surface oils. Follow these steps to achieve a smooth finish:
- Wipe the wood with a cloth dampened in mineral spirits or acetone to remove surface oils before sanding.
- Begin with medium grit sandpaper and progress to finer grits, always sanding with the grain.
- Periodically clean the wood surface with mineral spirits or acetone during the sanding process to remove additional oils.
- Use a tack cloth or damp rag to remove dust and debris between sanding stages.
- Choose a finish that is compatible with oily woods, such as oil-based polyurethane or a penetrating oil like tung oil or teak oil.
Sanding for Woodworking with Plywood
How to Properly Sand Plywood Surfaces for Woodworking Projects
Sanding is a critical step in the woodworking process, and properly sanding plywood surfaces can significantly impact the final appearance and quality of your projects. In this section, we will outline the essential techniques for effectively sanding plywood surfaces, taking into consideration the unique characteristics of this versatile material. By following these guidelines, you can achieve a smooth, professional finish that will enhance the overall look and durability of your woodworking creations.
Plywood, made from layers of wood veneer, requires careful sanding to avoid damaging its thin outer layer. Follow these guidelines for sanding plywood surfaces:
- Begin with a medium grit sandpaper (120-150 grit) to remove any rough spots or imperfections.
- Progress to fine grit sandpaper (180-220 grit) for a smooth finish.
- Always sand with the grain of the wood to avoid scratching or damaging the veneer.
- Use a sanding block or a random orbital sander for even pressure distribution and control.
Tips for Avoiding Sand-Through and Other Issues When Sanding Plywood
Sanding plywood can sometimes lead to complications, such as sand-through, where the top veneer layer is accidentally removed. In this section, we will provide valuable tips to help you avoid sand-through and other common issues when sanding plywood. With these precautions and techniques in mind, you can confidently approach your woodworking projects, ensuring a smooth and damage-free finish that showcases the beauty of your plywood creations.
Sand-through, the accidental removal of the plywood’s top veneer layer, can be avoided with these tips:
- Use a light touch when sanding, applying minimal pressure to the sandpaper.
- Choose a high-quality, sharp sandpaper that is less likely to cause damage.
- Periodically check your progress to ensure you’re not sanding too deep into the veneer.
- Sand with the grain of the wood for a smoother finish and reduced risk of damage.
How to Sand and Finish the Edges of Plywood Sheets
The edges of plywood sheets often require additional attention during woodworking projects, as they can appear unfinished and detract from the overall aesthetics of your piece. In this section, we will discuss how to sand and finish the edges of plywood sheets to create a polished and cohesive appearance. By employing these techniques, you can elevate your woodworking projects, giving your plywood edges a refined and professional look that complements the rest of your design.
Plywood edges can be unsightly, but proper sanding and finishing techniques can improve their appearance:
- Use medium grit sandpaper to smooth any rough spots or splinters on the edges.
- Progress to fine grit sandpaper for a smooth, even finish.
- Consider applying edge banding or a thin strip of hardwood to conceal the plywood’s layers.
- Sand the edge banding flush with the plywood surface, and finish with a stain or clear coat to match the plywood face.
Sanding Techniques for Veneered Plywood Surfaces
Working with veneered plywood surfaces presents unique challenges, as the thin decorative layer requires special attention and care during the sanding process. In this section, we will explore various sanding techniques tailored to veneered plywood surfaces, ensuring a smooth finish without damaging the delicate veneer. By mastering these methods, you can confidently tackle woodworking projects involving veneered plywood and achieve professional-quality results.
Veneered plywood surfaces, with their thin decorative layers, require special care when sanding:
- Use fine grit sandpaper (180-220 grit) to avoid penetrating the thin veneer.
- Sand with the grain of the wood for a smoother finish and reduced risk of damage.
- Apply light pressure when sanding, allowing the sandpaper to do the work.
- Use a sanding block or pad for even pressure distribution and control.
How to Properly Prepare and Sand Plywood for Painting or Staining
When it comes to woodworking projects involving plywood, preparing the surface for painting or staining is essential for achieving a visually appealing and durable finish. This section will guide you through the necessary steps to properly prepare and sand plywood surfaces, ensuring an even and smooth application of paint or stain. With the right techniques and attention to detail, you can transform your plywood projects into stunning, professional-quality pieces.
To prepare plywood for painting or staining, follow these steps:
- a. Sand the plywood surface with medium grit sandpaper to remove any imperfections.
- Progress to fine grit sandpaper for a smooth, even finish.
- Vacuum or wipe down the plywood to remove dust and debris.
- Apply a primer or wood conditioner, if necessary, to ensure even absorption of paint or stain.
- Apply the paint or stain following the manufacturer’s instructions and allow it to dry before applying additional coats or finishes.
Conclusion
Sanding is a crucial step in woodworking, ensuring a smooth and professional finish for your projects. By understanding the specific techniques and tips for working with reclaimed, exotic, and plywood woods, you can enhance your woodworking skills and achieve the desired results for your unique creations. With patience, practice, and attention to detail, you can master the art of sanding and create beautiful and functional pieces that showcase the best of these versatile materials.